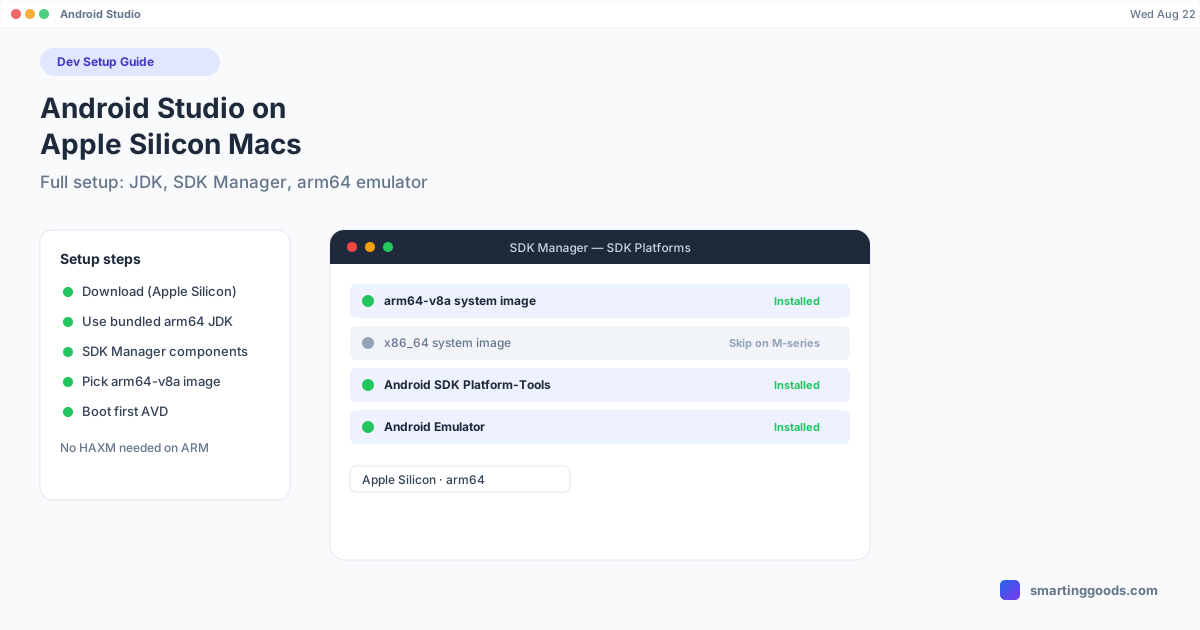
Installing Android Studio on an M-Series Mac: Full Setup Guide
A complete, current walkthrough for installing Android Studio on Apple Silicon — the right JDK, SDK Manager components, and picking arm64 system images so your emulator actually runs fast.
Installing Android Studio on an M-Series Mac: Full Setup Guide
If you just bought an M1, M2, M3, or M4 Mac and you're setting up Android development for the first time, the good news is simple: Android Studio runs natively on Apple Silicon, and has since Electric Eel (2022). No Rosetta, no emulation tax, no workarounds. The bad news is the setup still has a few gotchas that trip people up — wrong JDK, wrong SDK path, an emulator that won't boot because HAXM doesn't exist on ARM.
This is the complete, current setup for getting Android Studio running properly on Apple Silicon in 2026 — install, JDK, SDK Manager, and first emulator.
Why Apple Silicon Changes the Setup
Android Studio itself ships as a universal build, so installation is identical on Intel and M-series Macs. Where things diverge is underneath the IDE: the JDK, the command-line tools, and especially the emulator all need ARM64-native versions to run at full speed. Grab an Intel-only JDK or point the SDK Manager at the wrong system image, and you'll either hit a "wrong architecture" error or silently fall back to slow, translated execution.
The other M-series-specific issue is the emulator's hardware acceleration path. Intel Macs used Intel HAXM for acceleration; Apple Silicon Macs use Apple's built-in Hypervisor.framework instead, and HAXM doesn't work on ARM at all. If you follow an old tutorial that tells you to install HAXM, skip it — it'll fail to install and you don't need it.
Step 1: Download and Install Android Studio
Go to developer.android.com/studio and download the Mac build. The installer page auto-detects Apple Silicon vs Intel, but if you're downloading manually, grab the Mac (Apple Silicon) .dmg — it's built for arm64 and roughly half the download size of the Intel build.
Open the .dmg, drag Android Studio into /Applications, then launch it. On first open, macOS Gatekeeper may ask you to confirm you want to open an app downloaded from the internet — that's expected for a fresh install.
The first-run wizard walks you through a "Standard" setup, which downloads:
- The latest stable Android SDK
- Platform tools (
adb,fastboot) - A default system image for the emulator
- The Android SDK Build-Tools
Let it finish — this step alone can take 10-15 minutes depending on your connection, since it's pulling several gigabytes of SDK components.
Step 2: JDK — Use the Bundled One
Android Studio bundles its own JetBrains Runtime (JBR), which includes a full JDK build specifically compiled for arm64. As of recent Android Studio versions this is JDK 17 or newer, and it's already correctly architected for Apple Silicon — you don't need to install a separate JDK for basic Android development.
Where people get into trouble is when an older tutorial tells them to install a separate JDK via Homebrew or Oracle and manually set JAVA_HOME. If you do install your own JDK, make sure you grab the aarch64 / arm64 build — not x86_64 — or Gradle builds will silently run under Rosetta and be noticeably slower. To install an arm64 OpenJDK via Homebrew:
brew install openjdk@17
Homebrew on Apple Silicon installs to /opt/homebrew by default (versus /usr/local on Intel Macs), which is itself a common source of "wrong path" confusion when following older guides. Check which JDK Android Studio is actually using under Settings → Build, Execution, Deployment → Build Tools → Gradle → Gradle JDK — leave it on the bundled JBR unless you have a specific reason to override it.
Step 3: SDK Manager — Get the Right Components
Open Settings → Languages & Frameworks → Android SDK (or Android Studio → Settings on some versions). Under the SDK Platforms tab, install at minimum the latest stable Android API level plus one or two versions back, so you can test against real-world device distributions.
Under SDK Tools, make sure you have:
- Android SDK Build-Tools (latest)
- Android SDK Platform-Tools (this is where
adblives) - Android SDK Command-line Tools
- Android Emulator
If you plan to use the emulator, expand Android Emulator version details and confirm you're on a recent release — early emulator builds had rough edges on Apple Silicon that have since been fixed.
Step 4: System Images — Pick ARM64, Not x86
This is the step most Apple Silicon guides get wrong or skip. When you create a virtual device and pick a system image, Android Studio will show you both x86_64 and arm64-v8a images for many API levels. On an M-series Mac, always choose the arm64-v8a image.
x86_64 images run under binary translation on Apple Silicon and are dramatically slower — sluggish boot, laggy UI, slow builds deploying to it. The arm64 images run natively and feel close to using a real device. If you only see x86_64 images available for a given API level in the SDK Manager's "x86 Images" tab, switch to the "ARM Images" or "Other Images" tab — Google publishes arm64 images for current API levels specifically for Apple Silicon.
Google Play images (the ones with the Play Store icon, useful for testing Play Services-dependent features) are also available in arm64 builds for recent API levels — you don't have to give those up to get native performance.
Step 5: Create and Boot Your First AVD
Open Device Manager (Tools → Device Manager, or the icon in the toolbar), click Create Device, pick a phone profile (Pixel profiles are the safest default), choose an arm64-v8a system image, and finish the wizard.
First boot takes a minute or two while the emulator cold-starts; subsequent boots use a saved snapshot and are much faster. If the emulator hangs on a black screen or fails to start, the two most common Apple Silicon-specific causes are: a leftover x86_64 image accidentally selected, or macOS's Hypervisor.framework not being available (rare, but can happen if it's disabled by MDM/enterprise management on a work Mac).
An Alternative for Quick Visual Checks: Skip the Emulator Entirely
The AVD is essential for CI, automated testing, and anything that needs a controllable, scriptable Android environment. But for a fast "does this screen actually look right" check, the emulator is often more setup than the task needs — especially early in a project when you're mostly eyeballing layouts.
If you already have an Android phone sitting on your desk, PhoneDesk puts that phone's real screen in a resizable window on your Mac over USB or Wi-Fi — no AVD, no system image download, no waiting on a cold boot. It's not a replacement for the emulator in your test suite, but for visual checks against real hardware and real rendering, it's often faster than spinning up an AVD. We go deeper on this specific workflow in testing on a physical device without the emulator.
Frequently Asked Questions
Q: Does Android Studio run natively on M1/M2/M3/M4 Macs? A: Yes. Android Studio has shipped as a universal (Intel + Apple Silicon) build since the Electric Eel release in 2022, and the current stable releases run fully native on arm64 with no Rosetta involved for the IDE itself.
Q: Do I need to install HAXM on an Apple Silicon Mac? A: No. HAXM (Intel Hardware Accelerated Execution Manager) is Intel-only and won't install on ARM. Apple Silicon Macs use Apple's Hypervisor.framework for emulator acceleration instead, and it's built into macOS — nothing extra to install.
Q: Why is my emulator so slow on my M-series Mac? A: Almost always because you picked an x86_64 system image instead of arm64-v8a. Open Device Manager, check your AVD's system image, and recreate it with an ARM image if needed — the speed difference is dramatic.
Q: Can I test my app on a real phone instead of the emulator?
A: Yes, and for many day-to-day checks it's simpler than an emulator. You can connect via USB debugging and adb/Android Studio's device dropdown directly, or use a tool like PhoneDesk to see the phone's live screen in a window on your Mac without touching the device.
Get Building
Apple Silicon made Android development on Mac genuinely fast — a clean SDK setup with the right JDK and arm64 system images will boot an emulator in seconds and keep Gradle builds snappy. The two mistakes to avoid are grabbing an x86 system image out of habit, and installing HAXM from an outdated tutorial.
Once your environment is running, PhoneDesk is worth keeping around for quick visual checks against a real device — $25 one-time, no subscription, 14-day refund if it's not useful to your workflow.