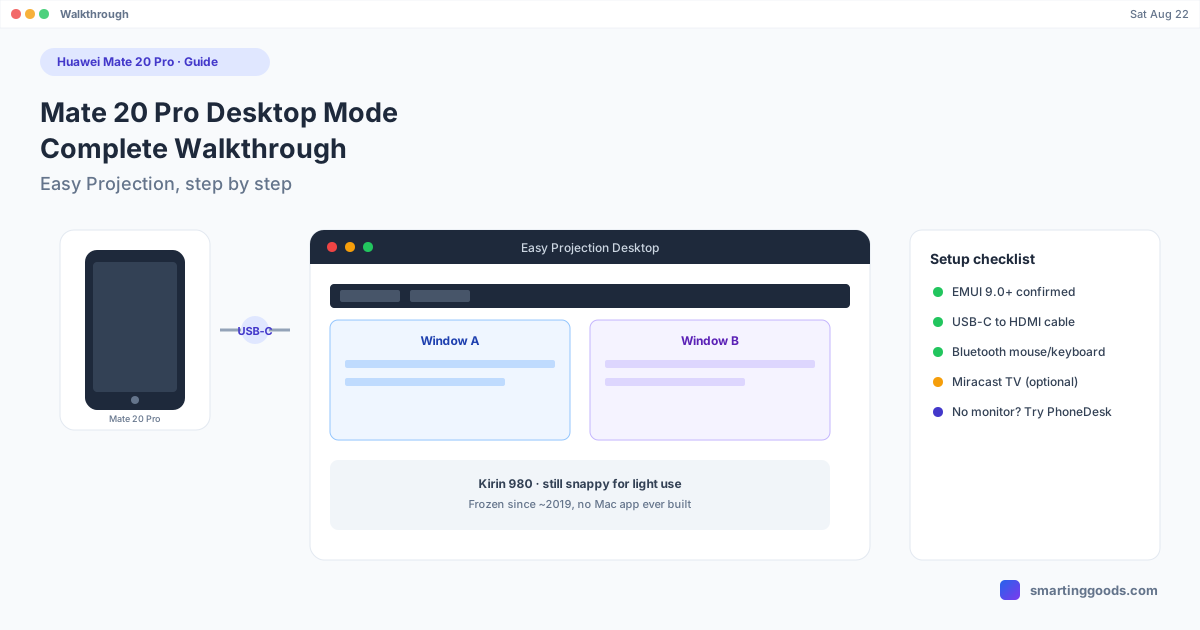
Huawei Mate 20 Pro Desktop Mode: Complete Walkthrough
The Huawei Mate 20 Pro's Easy Projection Desktop Mode still works today. Here's the complete setup walkthrough, from cables to peripherals.
The Huawei Mate 20 Pro was one of the more capable phones of its generation to ship with a desktop-style Easy Projection mode, and if you're still running one — or picked one up secondhand — the desktop feature is still fully functional. Here's the complete setup walkthrough, along with what's changed since 2018 and what to do if your real goal is getting the phone working with a Mac.
What Desktop Mode Offers on the Mate 20 Pro
The Mate 20 Pro's Desktop Mode (EMUI's Easy Projection) connects to an external monitor and switches into a full windowed desktop layout — taskbar, resizable app windows, drag-and-drop, and mouse/keyboard input, while your phone continues to work as a phone at the same time. It's the same feature Huawei built into the Mate 10 generation and refined further by the time the Mate 20 Pro launched, and on this particular phone, the Kirin 980 chipset gave it enough headroom to feel reasonably snappy for its era.
Step-by-Step: Setting Up Desktop Mode
1. Check your EMUI version
Open Settings → System → About phone and confirm you're running EMUI 9.0 or later — the version the Mate 20 Pro launched with. If an update is still available, install it from Settings → System → Software update, though Huawei has not issued meaningful updates to this device in years, so you're likely already on the final build.
2. Get the right cable or dock
Desktop Mode requires connecting over USB-C to an external display. A USB-C to HDMI cable works for a basic setup; a powered USB-C hub with DisplayPort Alt Mode support is the better option if you also want the phone to charge while docked — passive adapters that draw power from the phone itself are the most common cause of a flickering or dropped connection.
3. Connect and enter Desktop Mode
Plug the cable into the Mate 20 Pro and into your monitor's HDMI input. The phone should prompt you to switch into Desktop Mode automatically within a few seconds. If it doesn't trigger, swipe down for the notification shade and look for the Easy Projection toggle to switch manually.
4. Pair a mouse and keyboard
Desktop Mode supports touch input, but it's designed around a cursor and keyboard. Go to Settings → Bluetooth to pair peripherals before docking, or connect them afterward once you're in the desktop session.
5. Try wireless casting if your display supports Miracast
The Mate 20 Pro can cast wirelessly to Miracast-compatible TVs and monitors through Settings → More connections → Easy Projection, though this generally behaves as screen mirroring rather than triggering the complete multi-window desktop layout — for the full Desktop Mode experience, the wired connection is more reliable.
What's Changed Since 2018
The Desktop Mode UI itself hasn't changed — it's the same feature, unpatched, running the same way it did at launch. What has changed is the software environment around it. App developers have moved on from optimizing for a phone this old, and Huawei's own software attention shifted to HarmonyOS years ago, meaning Desktop Mode on the Mate 20 Pro will never see further refinement. It's usable for what it was designed for — email, browsing, document work — but it's not going to keep pace with how desktop modes have evolved on newer Android phones since.
Connecting the Mate 20 Pro to a Mac
Desktop Mode has always needed a physical monitor — Huawei never built a Mac app that lets you run this desktop session as a window on your computer. If what you're actually after is your Mate 20 Pro's screen and files on a Mac without buying a dock or monitor, that's a different problem than Desktop Mode solves.
PhoneDesk connects to the Mate 20 Pro over USB or Wi-Fi (once USB debugging is turned on under Settings → System → Developer options) and displays the phone's screen as a native, resizable window directly on your Mac — no HDMI cable, no external monitor required. It also handles file transfer in both directions: drag files onto the window, or share straight from the phone's own share sheet, landing in your Mac's Downloads folder without a cable or MTP mount. It's a different mechanism from Huawei's Easy Projection (which needs Huawei's own display handshake to trigger the desktop UI), but it covers the actual reason most people end up searching for a Mate 20 Pro Mac setup.
Frequently Asked Questions
Q: Does the Huawei Mate 20 Pro's Desktop Mode still work in 2026? A: Yes — it's unchanged from launch and still functions the same way, connecting over USB-C to an external monitor. It hasn't received updates in years, but nothing has broken it either.
Q: Can the Mate 20 Pro run Desktop Mode wirelessly? A: Only for basic screen mirroring to a Miracast-compatible display. The full multi-window Desktop Mode layout is most reliable over a wired USB-C to HDMI connection.
Q: Can I use Desktop Mode inside a window on my Mac? A: No — Huawei never released Mac software for this feature. To get the Mate 20 Pro's screen onto a Mac without a monitor, use a separate tool like PhoneDesk, which mirrors the phone as a window over USB or Wi-Fi.
Q: Is the Mate 20 Pro still a good phone for Desktop Mode use in 2026? A: For light productivity tasks it holds up reasonably well thanks to the Kirin 980's performance. For anything demanding, or if you want ongoing feature updates, a newer phone with Samsung DeX or Pixel's built-in desktop mode will be a better long-term option.
Bottom Line
The Huawei Mate 20 Pro's Desktop Mode still works exactly as it did in 2018 — connect it to a monitor over USB-C and it switches into a full desktop interface. It was never designed to run on a Mac without that external display, though, and Huawei never built the software to change that.
PhoneDesk is a $25 one-time license — no subscription, 14-day no-questions refund. See the full feature list →