How to Enable Developer Options on Android
Every Android phone hides Developer options behind the same trick — tap Build number seven times. Here's the exact menu path, why it varies slightly by phone, and what to do once it's on.
How to Enable Developer Options on Android
Developer options is a hidden settings menu on every Android phone, and Google deliberately buries it — you have to unlock it on purpose rather than stumble into it. It's a one-time, thirty-second process, and it's the required first step before you can use adb, scrcpy, USB debugging, or any tool (including PhoneDesk) that talks to your phone over a direct connection.
The exact menu path shifts slightly between manufacturers and Android versions, but the core trick — tapping the build number seven times — has stayed the same since Android 4.2 introduced this hidden-menu pattern in 2012.
The Steps (Works on Stock Android, Samsung, Pixel, and Most Others)
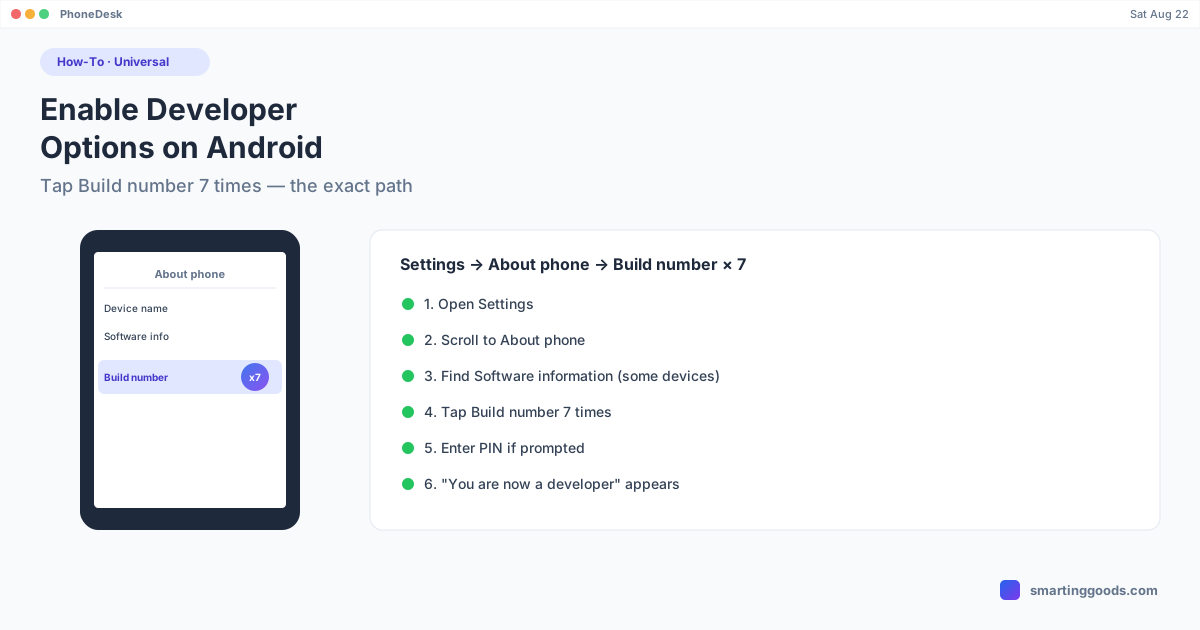
- Open Settings.
- Scroll down and tap About phone (on some phones this is labeled About device).
- Look for Software information — on Samsung phones and several other skins, Build number is nested one level deeper inside this submenu rather than sitting directly under About phone.
- Find Build number and tap it seven times in a row, fairly quickly.
- You'll be prompted for your device PIN, pattern, or password partway through — enter it to continue.
- After the seventh tap, you'll see a message like "You are now a developer!" or "Developer mode has been enabled."
Developer options now appears as its own entry in Settings — usually near the bottom of the main Settings list, or inside System → Developer options on phones that group it there.
Why the Menu Path Varies by Phone
Google's stock Android puts Build number directly under About phone. Samsung, and several other manufacturers with their own Android skins, nest it inside a Software information submenu instead — an extra tap before you get to the same seven-tap trick. The underlying mechanism (tap Build number seven times) hasn't changed across Android versions; only where that setting lives in each manufacturer's menu structure differs. If you can't find Build number, searching "build number" in the Settings search bar (most phones have one) is the fastest way to jump straight to it regardless of skin.
What to Do Once Developer Options Is On
Enabling Developer options alone doesn't do anything risky by itself — it just reveals a menu of advanced toggles. The two settings most people actually need it for:
- USB debugging — required for adb, scrcpy, Android Studio, and PhoneDesk to talk to your phone over USB or Wi-Fi.
- Wireless debugging — the Android 11+ equivalent for pairing over Wi-Fi without a cable.
Neither of these turns on automatically just because Developer options is enabled — they're separate toggles you turn on inside that same menu.
Is It Safe to Leave Developer Options On?
Yes, for normal use. Developer options exposes settings like USB debugging, animation scale, and background process limits — useful for developers and power users, but not something that compromises your phone just by being visible. The setting most people should turn off again after they're done is USB debugging specifically, since it's what allows a connected computer to issue commands to the device — leaving it on is only a concern if you regularly plug into computers you don't trust.
How This Connects to PhoneDesk
Developer options and USB debugging are the required first step before PhoneDesk — or any adb-based tool — can see your phone at all. PhoneDesk auto-detects any phone with USB debugging enabled the moment you plug it in or pair it wirelessly; there's no separate driver install or account needed on the Mac side. Once USB debugging is on, PhoneDesk picks up your phone's name, resolution, and Wi-Fi port automatically.
Frequently Asked Questions
Q: Why do I have to tap Build number exactly seven times? A: It's an arbitrary threshold Google chose to prevent accidentally enabling developer settings with a stray tap — there's no technical reason it's seven specifically, it's just been the number since Android 4.2.
Q: I don't see Build number under About phone — where is it? A: Check inside a Software information submenu if your phone has one (common on Samsung and other skinned Android versions), or use the Settings search bar and type "build number."
Q: Does enabling Developer options void my warranty? A: No. It's a standard, Google-documented feature built into every Android phone — using it doesn't affect your warranty.
Q: Do I need Developer options for PhoneDesk? A: Yes — Developer options and USB debugging (enabled from inside it) are required for PhoneDesk to detect and connect to your phone, over USB or Wi-Fi.
Next Step: Turn On USB Debugging
Once Developer options is enabled, the next step is turning on USB debugging itself. Read the companion guide →
Then connect your phone to PhoneDesk and get desktop mode, screen mirroring, or file transfer running in one click. See the full feature list → — $25 one-time, no subscription, 14-day no-questions refund.