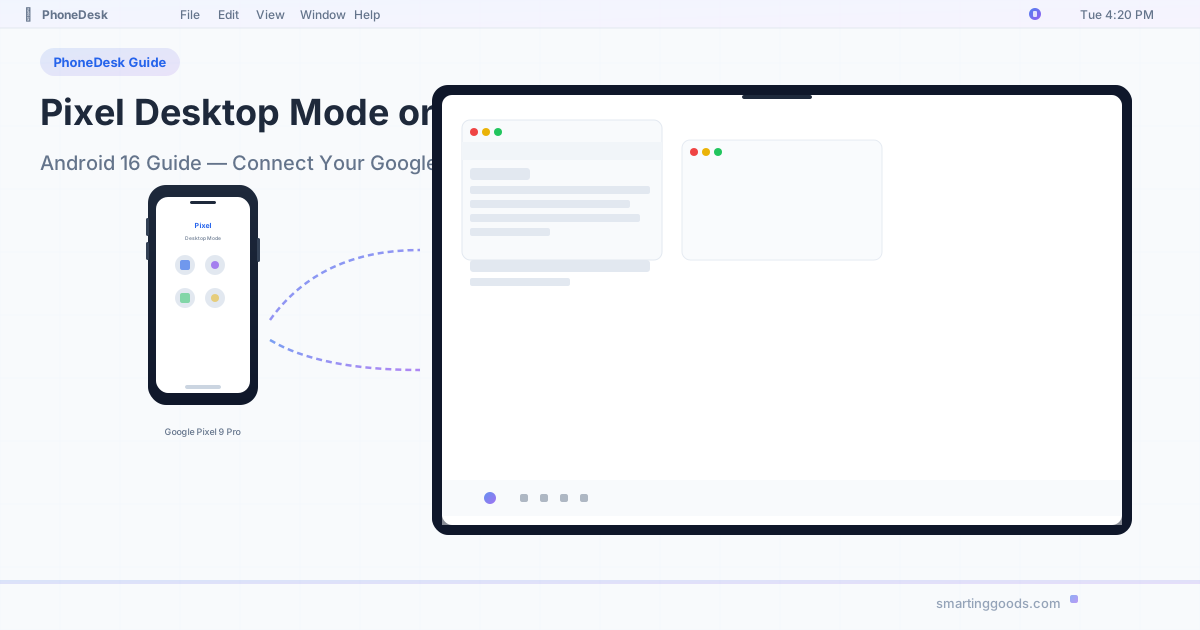
Pixel Desktop Mode on Mac: How to Connect Your Google Pixel (Android 16 Guide)
Android 16 finally brings a proper desktop mode to Pixel phones. Here's how to connect your Google Pixel to a Mac and get the most out of it — with or without an external monitor.
Pixel Desktop Mode on Mac: How to Connect Your Google Pixel (Android 16 Guide)
The March 2026 Pixel Drop changed everything for Pixel owners. With the stable release of Android 16 QPR3, Google finally turned Pixel desktop mode into a first-class feature — no developer options required, no beta bugs to fight. Just plug your Pixel 8 or newer into a USB-C display and you get a real desktop environment with resizable windows, a taskbar, and full keyboard and mouse support.
But there's a catch if you use a Mac.
MacBooks don't have video input ports. You can't just connect your Pixel to your MacBook with a USB-C cable and see the desktop mode on your Mac's screen. The Pixel outputs video — the Mac only receives it from its own GPU. So the question everyone's asking is: how do you use Pixel desktop mode on a Mac without buying a separate monitor?
This guide covers every option — from the straightforward (buy a monitor or USB-C hub) to the clever (use PhoneDesk to turn your Mac into the Pixel's display).
What Is Android 16 Desktop Mode?
Android 16 desktop mode is Google's answer to Samsung DeX — a full desktop environment that runs on your Pixel phone and displays on an external monitor. When you connect a compatible Pixel to a display via USB-C, Android switches from the standard phone interface to a desktop layout with:
- Free-form windows — resize, overlap, and arrange apps like on a real desktop OS
- A taskbar — pin your favorite apps, see recent windows, and switch between them
- Independent screen operation — work on your monitor while your phone screen stays free for messages, calls, or a second app
- Keyboard and mouse support — Bluetooth or USB peripherals work out of the box
- Customizable display settings — per-display text size, resolution, and orientation saved for each monitor you connect to
Supported devices: Pixel 8, Pixel 8 Pro, Pixel 9 series, Pixel 9 Pro Fold, Pixel 10 series, and Pixel 10 Pro Fold. The Pixel Tablet also gets a variant called Desktop Windowing.
What you need: A Pixel with DisplayPort Alt Mode over USB-C, a USB-C cable that supports data + video (not charge-only), and a display with USB-C input or a USB-C-to-HDMI adapter.
The feature launched as part of the March 2026 Pixel Drop and rolled out via Android 16 QPR3. Earlier beta versions required toggling developer options, but the stable release activates automatically when you connect a display.
The Mac Problem: Why You Can't Just Plug In
Here's where it gets tricky for Mac users.
A MacBook Pro or MacBook Air has Thunderbolt / USB-C ports — but these are video output ports only. They can drive an external monitor, but they cannot accept a video signal from another device. The USB-C controller in a Mac is designed to be a host (source), not a display (sink).
So if you connect your Pixel 9 Pro to your MacBook Pro with a USB-C cable, nothing happens on the Mac side. The Pixel might start charging, but it won't detect the Mac as a display. Macs do not support USB-C DisplayPort Alt Mode input.
This is the core challenge this article solves.
What Actually Works with a Plain Mac
| Setup | Works? | Details |
|---|---|---|
| Pixel → MacBook via USB-C | No | Mac doesn't accept video input |
| Pixel → external monitor via USB-C | Yes | Direct connection, best quality |
| Pixel → monitor via USB-C-to-HDMI adapter | Yes | Works with any monitor with HDMI |
| Pixel → USB-C hub → monitor | Yes | Also lets you charge and add peripherals |
| Pixel → Mac (via capture card) | Yes | Adds cost and complexity |
| Pixel → Mac (via software like PhoneDesk) | Yes | Best Mac-specific solution |
Option 1: The Direct Route — Connect to a Monitor
The simplest way to use Pixel desktop mode is to connect directly to a monitor. If you already have an external display for your Mac, you can share it — but not simultaneously. The Pixel needs the monitor's full attention.
What you'll need:
- A monitor with USB-C input (supports DisplayPort Alt Mode) — OR —
- A USB-C to HDMI or DisplayPort adapter cable
- A Bluetooth keyboard and mouse (paired to the Pixel)
Steps:
- Enable desktop mode (automatic on Android 16 QPR3+ — just connect)
- Plug your Pixel into the monitor via USB-C
- When the prompt appears, select Desktop (check "Don't ask again" to skip this next time)
- Connect your Bluetooth keyboard and mouse to the Pixel
- Start using Android desktop mode on the big screen
The downside: your Mac can't use that monitor while the Pixel is connected. You're essentially choosing between Mac and Pixel on the same display.
Option 2: The Hub Setup — Charge + Connect + Peripherals
A USB-C hub with Power Delivery passthrough solves the charging problem and gives you ports for wired accessories.
Best setup:
- Connect a USB-C hub (with PD passthrough and HDMI) to your Pixel
- Plug the hub's power adapter into the wall
- Connect your monitor to the hub via HDMI
- Plug wired keyboard and mouse into the hub's USB-A ports
This keeps your Pixel charged, gives you wired peripherals (no Bluetooth pairing hassle), and lets you use your monitor's full resolution. The Pixel charges at up to 27W through the hub, so you can work all day.
Option 3: The Mac-Friendly Solution — PhoneDesk
If you don't want to buy a separate monitor or juggle cables between your Mac and Pixel, PhoneDesk is the answer.
PhoneDesk is a macOS menu bar utility that receives your Pixel desktop mode stream and displays it as a real window on your Mac. You get the full Android 16 desktop experience — taskbar, resizable windows, keyboard and mouse — all inside your Mac's display, alongside your macOS apps.
How it works:
- Install PhoneDesk on your Mac (one-click setup from the menu bar)
- Pair your Pixel via USB or over WiFi
- Your Pixel desktop mode appears in a window on your Mac — you can resize it, move it between spaces, or full-screen it
- Use your Mac's own keyboard and mouse to control both macOS and Android
No external monitor needed. No capture cards. No cable swapping.
What makes PhoneDesk different from other options:
| Feature | Direct Monitor | Capture Card | PhoneDesk |
|---|---|---|---|
| External monitor required | Yes | No | No |
| Separate keyboard/mouse | Yes | Yes | No (use Mac's) |
| Cable swapping | Frequent | Minimal | None |
| Latency | None | Medium | Low (USB/WiFi) |
| Cost | $100-500+ | $20-100 | $25 one-time |
| Works alongside macOS | No | No | Yes (windowed) |
PhoneDesk is a $25 one-time license — no subscription, no hidden fees. It includes a 14-day no-questions refund, so you can try it risk-free.
Option 4: Capture Card Workaround
If you already own a USB video capture card (like a cheap HDMI capture dongle), you can route the Pixel's display output through it to your Mac. This works but has notable downsides:
- Added latency — capture cards introduce 50-150ms delay, which makes mouse movement feel floaty
- Cost — a decent capture card costs $30-100
- Clunky — you need a USB-C-to-HDMI adapter for the Pixel, an HDMI cable to the capture card, and the capture card plugged into your Mac
- DisplayLink — some DisplayLink docks can work in reverse, but Android does not officially support DisplayLink for desktop mode. Stick with DisplayPort Alt Mode for best results.
This is a functional workaround, but PhoneDesk is cheaper, simpler, and performs better for this specific use case.
Setting Up Pixel Desktop Mode for the First Time
If you haven't tried Android 16 desktop mode yet, here's a quick walkthrough:
Prerequisites
- Pixel 8 or newer (Pixel 9 or 10 recommended for best performance)
- Android 16 QPR3 or later (check Settings → About phone → Android version)
- A USB-C cable that supports data + video (the cable that came with your Pixel works)
- A display method — monitor, hub, or PhoneDesk
Step-by-Step
- Connect your Pixel to your chosen display method via USB-C
- Choose Desktop when the prompt appears (or go to Settings → Connected devices → External displays to change defaults)
- Adjust display settings — in desktop mode, open Settings → Connected devices → External displays. Here you can:
- Change text and icon size
- Set resolution (1080p or 1440p depending on your display)
- Enable or disable Universal Cursor (moves your mouse seamlessly between phone and external display)
- Configure keyboard shortcuts — if you're coming from a Mac, set the modifier key to Command for muscle-memory-friendly shortcuts
Tips for a Better Experience
- Increase screen timeout — prevent your Pixel from locking during long sessions (Settings → Display → Screen timeout → 10 minutes or longer)
- Use Universal Cursor — this lets you move your mouse from the external display to your phone's screen, turning your phone into a secondary input surface
On a Mac? PhoneDesk 1.4 does this without an external display. Universal Cursor only works between your Pixel and a monitor it is plugged into — it cannot reach a Mac. PhoneDesk's "Keyboard & Mouse Seamless" brings the same behaviour to macOS: move your Mac's cursor off the edge of your screen and it lands on your phone's own display, with your keyboard following it. Nothing is mirrored to the Mac, and there is no window to focus first. If you have several phones, the cursor glides from one to the next. Needs Android 11 or later. See it in action →
- Pin your essential apps to the taskbar — right-click (or long-press) an app in the app drawer and select "Add to taskbar"
- Set up app pairs — open two apps, then use the maximize menu to snap them side-by-side for a split-screen workspace
Frequently Asked Questions
Q: Can I use Pixel desktop mode wirelessly? A: Not natively. Google's implementation requires a wired USB-C connection for DisplayPort Alt Mode. Third-party wireless display solutions like Miracast may work for screen mirroring, but they don't trigger desktop mode — you'll just get a mirrored phone screen. For wireless desktop mode, you need a software solution like PhoneDesk that runs on your Mac.
Q: Does Pixel desktop mode work on a MacBook Air? A: It works on any Mac if you use PhoneDesk or a capture card. Direct USB-C connection will not work because MacBooks don't accept video input over USB-C. PhoneDesk is the simplest option and works identically on MacBook Air M1, M2, M3, and M4.
Q: Can I use my Mac's keyboard and mouse with Pixel desktop mode? A: With a direct monitor setup, no — you need Bluetooth peripherals paired to your Pixel. With PhoneDesk, yes — your Mac's keyboard and mouse control the Pixel desktop mode window natively.
Q: What's the difference between Pixel desktop mode and Samsung DeX? A: They serve the same purpose, but Pixel desktop mode is newer and more "stock Android" — it lacks some of Samsung's polish but benefits from Google's direct updates. Samsung DeX has been around for years, has a more mature app ecosystem, and supports a wider range of Galaxy devices. Pixel desktop mode is currently exclusive to Pixel 8 and newer running Android 16.
Q: Does PhoneDesk work with screen recording or streaming apps like OBS? A: Yes — PhoneDesk captures the Pixel desktop mode feed and makes it available on your Mac, including for screen recording software. This is useful for developers creating tutorials, or for anyone who wants to share their Android desktop workflow.
Q: What resolution does Pixel desktop mode support on a Mac via PhoneDesk? A: PhoneDesk supports up to 1080p and 1440p depending on your connection method (USB offers higher bandwidth than WiFi). The Pixel's own output caps at 1440p for most models, with 4K support potentially arriving in future Android updates.
Why PhoneDesk Is the Best Solution for Mac + Pixel Users
The fundamental problem is simple: Google built Pixel desktop mode to work with monitors, not Macs. A monitor is a dumb display — it accepts any video signal and shows it. A Mac is a smart display — it only shows its own output.
PhoneDesk bridges this gap. It tricks the Pixel into treating the Mac as a display, then shows the result in a native macOS window. No external hardware, no capture cards, no cable swapping.
For the $25 one-time price, you get:
- Pixel desktop mode as a window on your Mac (resizable, movable, full-screenable)
- Your Mac's keyboard and mouse control both operating systems
- USB or wireless connection — your choice
- 14-day refund policy — if it doesn't work for your setup, you get your money back
This isn't a subscription SaaS product. It's a $25 utility that does one thing and does it well.
Conclusion
Android 16 desktop mode is a genuinely useful feature — it turns your Pixel into a mini desktop computer that can handle documents, browsing, messaging, and even light development work on a big screen. But Google designed it for monitors, not Macs.
If you already have an external monitor, the direct USB-C connection is free and works well. If you want the full experience on your Mac without buying extra hardware, PhoneDesk is the only purpose-built solution.
Try PhoneDesk for 14 days — if it doesn't make your Pixel + Mac workflow better, you pay nothing. Get started here →